Thursday, October 10, 2013

Pistachio shell craft...

Well if you eat pistachios and you anything like me is am sure that you have had the thought : What to do with all these shells? I thought its a shame to trash out these cool looking things that are dying to be reused in too something cool.. And I can tell you that I have jars of them saved away for a cool craft..
So I was online looking at some craft ideas and just out of the blue here it was was a really cool looking craft with  pistachio shells..:-)
This one is easy ... You will however need a hot glue gun..and spray paints in the colors you desire..
You will also need some cardboard , cereal boxes are good for this.
Cut your box  in circles ,you could use round cookie cutters and go around them with a pen and then cut them out, or if you have round large punchers ..Punch away..Hot glue your shells in upright position ,watch out for those fingers ,the glue is extremely HOT..I got so many burns I once required strong pain killers to make the pain go away!!  Yiakkks...
So glue the first round and then just go around and keep gluing until you are at the end of the circle.. Allow to dry , this takes 10 minutes ,hot glue dries really fast and then spray paint your flowers with paint.  Super simple...and pretty 
You could use these to make a art piece by gluing a bunch of them together on canvas, or you could stick them on ribbon and hang them in a corner, glue them around a lamp shade  and use them as really original corsages :-) 
So go on and eat up and craft away.. Wishing you all a blessed and happy day!!  

Monday, October 7, 2013

Diy vapor rub

With winter coming up so do runny noses and sore throats, bad chesty coughs and upset tummies, so I've got a good recipe for you to make your own vapor rub at home with pure ingridients.
There is the commercial Vicks vapor rub but basically what you are doing is rubbing petroleum all over your chest and your kiddos..And all that is ubsorbed by your body..
So with this one made with ,coco butter or coconut oil it makes it safe and good for your skin too..

So here are the ingridients that you will need:


 2 Tablespoons cocoa butter
2 Tablespoons sweet almond oil
20 drops eucalyptus oil
5 drops peppermint oil
4 drops lemon oil

Eucalyptus Oil - The active ingredient in aromatherapy eucalyptus species is cineol. Cineol’s aroma has both antiseptic and expectorant properties, making it the perfect ingredient for vapor rub.

Peppermint Oil – You’ll recognize the strong, penetrating menthol aroma of peppermint oil. When applied to the skin, it feels cool on the skin, so the body brings more blood to the area, which in turns warms the body.

Lemon Oil - Lemon oil is such a powerful astringent and antiseptic it can cause skin irritation. It should not be applied undiluted to skin. Five drops or less of lemon oil should be added to this recipe.


So in a double boiler melt the coco butter or coconut oil until melted or creamy, add the sweet almond oil and mix with a wooden spoon or plastic. Add in your essential oils and mix to compbine. 
In the mean time have you glass jar washed and sanitized (sterilized) do this by washing your jar with soap and them boil it in water or poor boiling water from the kettle in the jar.. 
Transfer your vapor rub in the clean jar and close the lid, the mixture will harden up , if your using coconut oil it will not be so hard . I prefer to use coconut oil as I find it easier to get it out and it rubs on easier. Some people say that it lasts longer if its made with coco butter .. You could try and see what one you like better. 

Uses of your homemade vapor rub:
You could rub on your chest , this is good for those nasty coughs and blocked nose. Good for kids when they have blocked nose before bed time, helps them sleep better.
Put a spoon in hot bath and breath in the fumes ,it also helps congested nose and chesty coughs.
Rub it on feet after bath time and put on warm socks. Helps with coughs.
Rub it on sore musles and joints.
Rub some on your forehead and temples if you have a headache .

Hope you enjoyed this post have a great day!!!!!!


Friday, October 4, 2013

Winter chap stick DIY

In the winter time our lips need a little more caring and love .. So I've got a good diy recipe for a lip balm that will keep your lips soft and moistened form that cold wint that is on its way...


INGREDIENTS:
8 Drops peppermint oil
2 Tbsp carrier oil (such as almond oil—this dilutes the peppermint oil from a burn to a tingle)
1 Tbsp beeswax pellets
Glass dropper
Glass jar
Containers (hit up a department store for sample jars or order your own)


Put the carrier oil and the beeswax in a glass jar and close the lid. Heat the jar in a double boiler with water on medium-high heat until wax is melted. Remove jar from pot and stir mixture. Add peppermint oil with a dropper (not too much or it’ll burn your lips, something  like 10 drops.  If you’d like your balm to be tinted, stir in some coco or beet root powder until your desired color is achieved. Then immediately pour the mixture into your containers. Let stand for two hours until hard. ..stick a pretty label and you have a cute and useful gift or basket filler..

Toilet tube recycled ghost.


Mummy votives


Happy kids helping out..


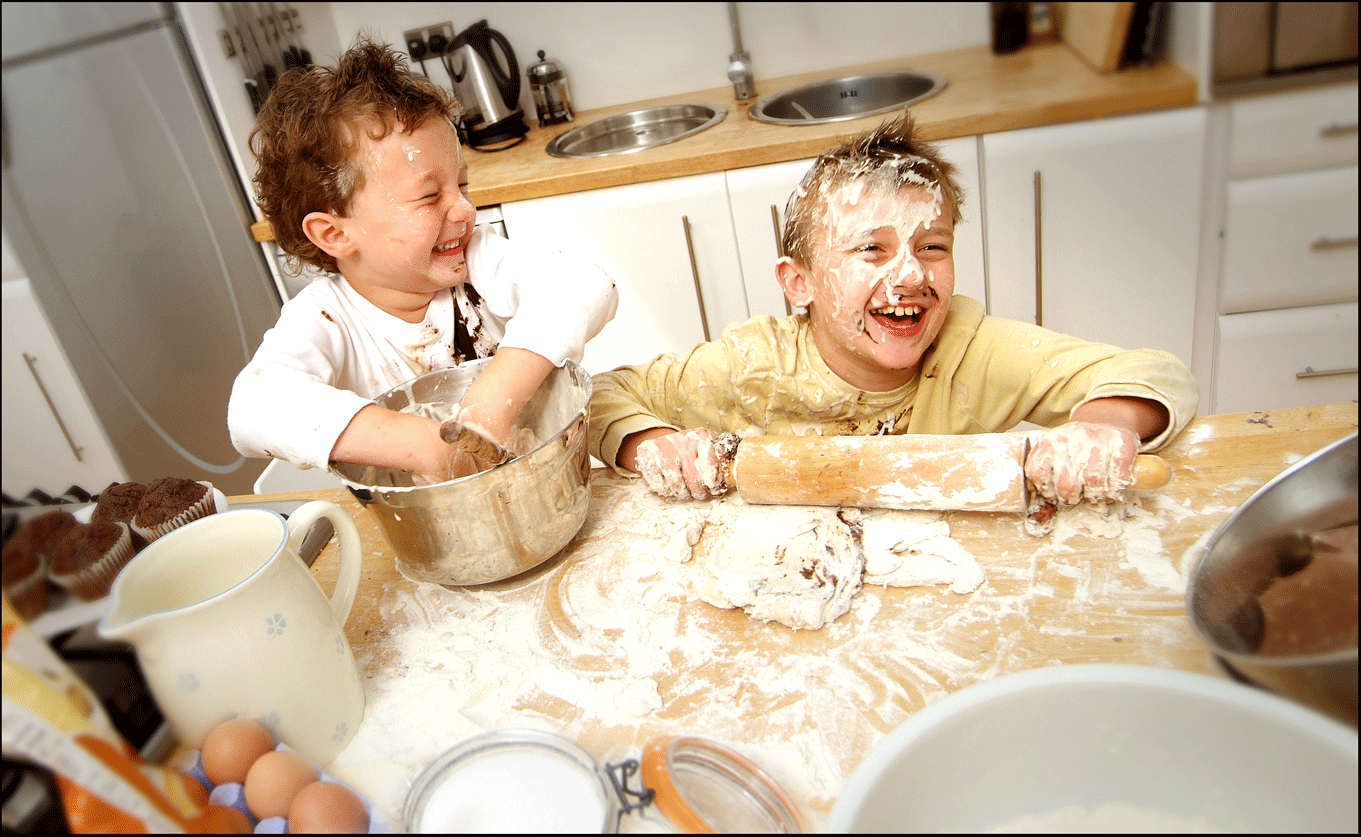
I like to involve the kids in some of the stuff we do in the kitchen , today I would like to share with you what these things are and maybe give you some ideas to use in your household with your kids.

Bread making.
We make our own bread so when I plan to make it I call the kids to come help, the love to measure out the cups ,poor in the water and squirt the honey in. I divide the dough and they will kneel it and make the dough, this  makes them get a work out too witch is always a good thing:-) 

Making fabric detergent 
If you make our own cleaning products this is also good to involve them in. I let them grate the soap for the fabric detergent ,put the essential oils in and measure out the washing soda. I measure out the borax. And then when laundry time is up the little one loves to press the buttons to start the machine going..

Baking
We bake a lot in our house and kids are always up for a good help in doing this.. They love to crack the eggs ,mix the butter and sugar, measure the flour out and poor it in and scoop the dough out in to cookie balls in the tray. And they always insist in putting there own trays in the oven. But be careful this bit is hot and little hands can burn..so I help the little one..

Gardening 
Kids love to play and roll in mud and dirt, so we often go to the flower garden and buy veggies or flowers to plant, they each have there own shovel and little rake and they go out and dig and plant there stuff. If there planting seeds then they do this in little containers or egg cartons. I help them make there own labels too ..

Making pizza
This is great time for my kiddos. They love pizza and we don't buy it from a pizza place for health conscious reasons and  that we don't eat white flour. So when the opportunity comes up they are very excited and enthusiastic to make and specially eat it..the oldest one helps out with cutting the veggies and stuff to go on, the little one helps out with the making of the dough and grating the cheese is a shared thing as is the eating part:-)

Making a salad

My oldest boy loves to surprise hes dad with a salad , so he goes in he kitchen and gets all the stuff and cuts all the veggies with pride ..This is something he takes very very serious....

Preparing the family movie night
This happens on  the weekend and we  have snacks and goodies for this, so they come in most times not always and help out with the cutting and preparing . They help take the stuff to were the movie is being held and also help bring back the dirty dishes and glasses when the night is out.. They both get tokens for being helpful and this goes for any positive behavior.  

Involving the kids in activities around the house and specially in the kitchen were they get to eat it too gives a sense of achievement and belonging.. it makes them take pride in what they do and they feel appreciated.  It also helps them from getting bored and you to rest when kids are in bed rather than preparing stuff all night..
I hope you enjoyed this post and i hope it will make you want to make stuff with your kids or if you already do give you ideas and what to make.. 
 

Wednesday, October 2, 2013

Stamping fun

Afternoon activity: stamping with potato stamps, toilet tubes and cookie cutters.
Cut a potato in half and cut our your pattern with a sharp knife, get some plastic plates and put paints ,press the stamp or toilet tube in the paints and stamp on paper or card stock..
We had fun doing this for about 1 hour and a half..or more:-)
Try stamping in different colors to get a nice two tone or rainbow effect..


Having fun