Wednesday, October 23, 2013

DIY mouthwash

I wrote this post this morning and when I was all done I touched the button Publish and something happened and my post got erased!! And I was not happy to say the least:-)
But here I am again so today I will tell you all,about my mouthwash I made last night.. It is super good and tasty too.
I will write about the benefits of the spices I used to make this super smell good mouthwash..

 Cinnamon improves taste and aroma, in addition to being antimicrobial and a modest pain reliever. The inner bark is the part of the plant from which either the powder or the more concentrated oil is derived, and is the only part approved for use as a medicinal herb by the prestigious German Commission E. 

Cinnamon has properties that are antimicrobial, antiviral, antifungal, and slightly anesthetic, which can be beneficial for sore tissues. The oil and bark have been traditional folk remedies for many years. For example, the oil was listed as part of the household inventory of herbal medicines in 1834 of Maryland's Homewood House, built by one of the signers of the Declaration of Independence. It has historically been used to numb teeth and gums, including the gums of teething infants.

Cinnamon is also considered one of the most concentrated sources of antioxidants.

Clove:
The reason clove is helpful to oral pain and disease is because it is an antiseptic, antifungal, antibacterial and anesthetic. Over the centuries clove was often used for pain relief and infection control during oral procedures. Clove has a numbing affect that eases pain, and it's other properties can help prevent or even reverse infection or soreness.

So lets get on with our mouthwash :

  • 2 tsp cinnamon 
  • 2 tsp clove
  • 1 tsp nutmeg 
  • 1cup vodka
  • 1 cup boiling water
  • 2 tsp stevia( optional) I didn't use it in mine I like the taste of the spices as they are.
  • I empty clean bottle
So you boil your water and add your spices , give a nice stir with a spoon and  now you will have to leave them to soak for about 4 hours or overnight. When the time is up you use a sieve and strain out the water, add the vodka and stevia if using and transfer the mouthwash to a clean bottle .. 
To use: Poor about 1/4 off the mouthwash to your cup and 1/2 of water , swish it in your mouth spit out and repeat until all the mixture is done from the cup .
You will have a fresh clean mouth ,breath that smells good and a bacteria free mouth.. You will feel a tinkling in your mouth but that is just the mouthwash working and killing the nasty little bacteria in your mouth.. If you feel you want it stronger add more mouthwash or less for weaker one..
Hope you try this out .. Have a good day:-)

Laundry detergent borax free..

I ran out off my borax and I needed to do the laundry today as I have piles of dirty stinky cloths to wash.. So until my borax arrives in the mail I made a liquid Landry detergent that doesn't use BORAX.. This would make it easy for people that can't get a hold of borax and its super cheap ..
This is a little bit  more time consipuming but it turned out well..  I filled up 4 litters with this recipe and one cup extra.. So to will need.:


  • I cup baking soda
  • I green soap grated   that is 2cups( found in the laundry isle) or 2 cups grated Castile soap.
  • 4 liters water
  • 1 cup water
  • Essential oils ( I used , pergamont ,tea tree) 40 drops of pergamont and 10 of tea tree
  • I 4 liter container
  • 1 large pot
So you crate your soap and place 2 cups of it in a pot, my soap made exactly 2 cups grated  soap.
Add the one cup water and heat up and whisk while the soap dissolves and melts, when its all melted add the baking soda and whisk well, add the 4 liters off water and mix very very well. Transfer the mixture in your container and add the essential oils. 
Use 1 cup to you load and shake well before using each time..


Easy as pie .. 


Thursday, October 17, 2013

Painting with spices..

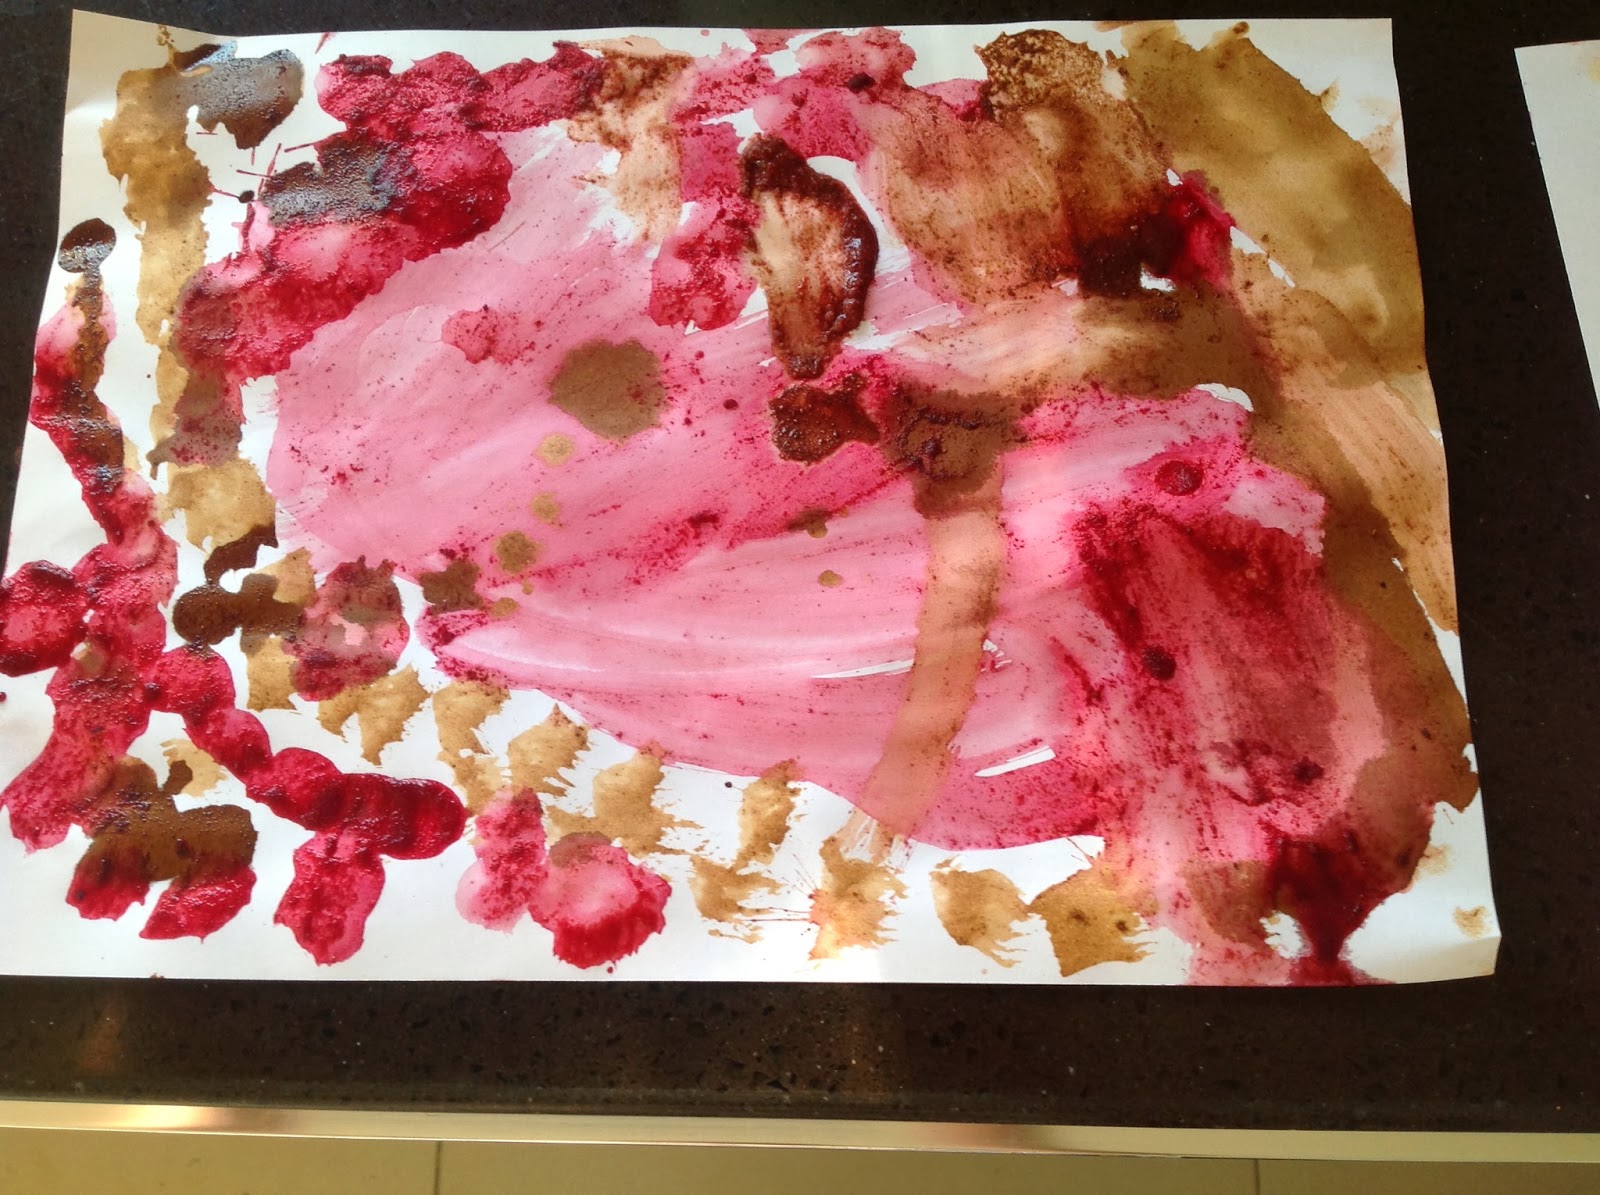
We had a fun afternoon yesterday , we were on our afternoon walks with our bikes and dogs and my eldest had an idea to paint with flowers. So we collected what flowers we found , and it was a limited selection since now is autumn and there are loads of fields around us and not so many flowers. We found orange , red ,pink ones and some purple ones from our garden. We got home and placed them in to boiling water to get the color our of them.. The flowers we found were on shrubs.. I read that poppies are great for red , daisies for yellow and some other spring flowers.. However we tried and didn't get the strong desired color that we were looking for.. 

So then I had the idea to try out spices , I know this was done in the olden days with added egg yolk to make vibrant colors.. . So I got out my beet root powder ,cinnamon , cocoa, turmeric.. We mixed them with some hot water and white vinigar to make our paints.. I tell you our kitchen smelled wonderful ..
We got some paper and paint brushes a glass of water to clean out each color and we started painting.. The colors were so vibrant and earthy and the paintings turned out so great..
Kids loved every minute of this activity and wanted more and more paper to create more paintings.. We spend an hour painting and mixing colors in to get new shades..
We let our painting  dry and then went back to look at them and talk about what we had painted, the paints were autumn colors and shades so the kids based the paintings on Autumn , leafes , trees and wind.. I hope you try this out it is worth every minute and try with other spices and herbs to get more colors.. I used what I had and the turn out was excellent .. I will say that when paintings dry they do go a deeper not so vibrant color..
Have a great day..
 The windy trees


Autumn storm
Autumn leaf collection 
 The golden pirate ship


The autumn tree


The golden flower


Our paints


An autumn tree..

Wednesday, October 16, 2013

Making butter at home!!

For our activity yesterday afternoon we made  home made butter and bread.. We had made jam (jelly) the day before so it went very well together.. I will share that recipe in another post..
So for the butter!! Well if your doing it with kids then you do it manually, kids get to see what is happening with the cream when shaken for a looooong time.. This takes some arm muscle here, you get a very good arm workout. You could explain how the cream turns to butter, when the water separates from the fat .
Now I do this in the stand up mixer normally if I want to make butter and the kids don't feel like getting some exercise done, you could make it with any kind if mixer , just mix until it turns to cream and then mix more until the fat separates from the water, this water is the buttercream ..You could use this for making pancakes, cakes, bread ,scones and many others recipes..
So what we did is this:
I pored cream in jars with lids, you might want to use plastic ones for this project as mine dropped it many times on the floor with over excitement :-)
So you fill it half way through ,you need to give it some space to be shaken, and then just shake like your life depends on it. SHAKE SHAKE.. Soon it will turn to cream and it will feel like its not shaking anymore but don't stop shake a bit longer ( much) and it will soon make the sound of shaking   Water and slush like sound.. The longer you shake it will turn to a mild light yellow ,off white color..
Now you open your lid and poor out your buttermilk and save it in an other clean jar.. Scoop out the butter in a cheese cloth and wash it in cold water, do not wash it with hot as this will melt the butter and all will be for nothing.. And trust me after all that shaking workout you don't want to do that..
When your done washing  squeeze  the access water out and put it in a clean jar. If you like your butter salted then add some salt mix and store in the refrigerator ...
Follow the same steps if using a stand up mixer ...
 The finished butter


What it's looked like half way through.


Hope you try this out ...have a great day !!!!


Tuesday, October 15, 2013

Dairy free ,refined sugar free,egg free coconut cookies...

This recipe turned out really yummy, I do admit I made the recipe up my self ..  This uses no butter no eggs no milk..
The ingredients you will need:


  1. 1 . 1/2 cups of whole wheat flour sifted
  2. 1/2 cups of oats
  3. 1/4 cups of oat flour
  4. 1 tsp baking soda or baking powder
  5. 1 cup of unrefined organic sugar fine or brown sugar if you like
  6. 2 medium sized ripe bananas
  7. 1/2 cup coconut oil ,(I use raw virgin ..)
  8. 4 tbsp of kefir ,orange juice or coconut milk..( I used kefir)
  9. 3 tbsp of pumpkin seeds
  10. 3 tbsp of raisins 
  11. 1 tsp vanilla optional
Turn oven to preheat on 150 degrees Celsius
Mash your 2 ripe bananas in your blender add them to a big bowl , add your sugar and mix well with a whisk, add your vanilla if using . I didn't use my stand up mixer for these ones.
Add your  coconut oil and mix well until all combined in too nice creamy consistency , sift your flour and mix ,sift your oat flour ,your baking soda and mix again , at this point you would like to switch to a fork.. Add in your oats ,raisins ,pumpkins seeds.   Mix well and add your kefir.. Now you don't want these to be dry if they are add a little bit more kefir until you could pick up the mixture with a spoon and roll it with your hands..
When all is done scoop out and roll in to ping pom ball sized balls.. Line a cookie sheet with parchment paper and place your ball on the sheet, press with your palm to flatten them..
When your cookie dough is done and you have all of your cookies in the sheet put them in the oven and turn oven on to 185 Celsius . Cook until edges are golden brown, around 15 minutes..
You could now lick your spoon and bowl and wait.. You could eat these raw too since the aren't any eggs..  Leave them out on the counter to cool down and store them in an airtight container..

PS you could try to use one cup of Agave syrup   You might ought to use more flour though.. I haven't done this so I don't know how they will turn out.. Good luck..


Saturday, October 12, 2013

Recycled pink pig

Make a little pink pig with things in your recycling box
We used a old tissue box tea light foils, yogurt container, toilet tubes,paper tape,acrylic paints.
Assemble your pig putting all the parts together and paper taping them in place, the tissue box will be the body ,the yogurt container the snout the tea light foils the eyes and 2 toilet tubes cut in half the legs.
Stick them all in place then cover the whole thing in tape.. Cover until the whole thing is all covered nicely ,this will make it easier to get a smooth finish when you paint it..
 Choose a color that you like and paint it all up, we did a red like pink color and made ours a pirate pig..  Have fun...

Friday, October 11, 2013

Diy book sling

Check out the tutorial on how to make a book sling, book slings are convenient for little kids bedrooms , they can choose the books they want to read for that week from the big book self and take them to there rooms. Easy to get out and put back in and it also looks cool. They can be ideal in next to there beds or in a reading corner..

Here's is the how to:
PS if you are like me and sawing is not your strong point, I use a good fabric adhesive ,or those iron on strips. You could get these at stores that sell stuff for sawing ,knitting and trimmings .  I get mine online..ikea also sells the webbing fabric iron on adhesive ..you could get the fabric there to and your list is done:-)

Supply List
1 1/3 yard of fabric
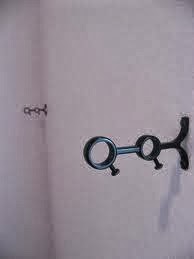
2 Double Curtain Rod Brackets (found at Ikea for as cheap as €3
2 Dowel Rods to fit the brackets, each 4 foot long (found again at Ikea)

Drill, Sewing Machine, Level, etc
I actually ended up making closer to a three foot long sling, which of course meant my measurements were different, because the wall I wanted to put it on was not quite four feet in length.
To try to avoid confusion I’ll just stick with the measurements found on the original tutorial (again, found here).
  • First, cut your fabric to 47″ x 42″.
  • Fold lengthwise with right sides together.  You should now have a 47″ x 21″ piece of fabric.  (I also added a piece of heavyweight interfacing between the layers of fabric for added stability, but this is optional).
  • Sew, using a 1/2″ seam allowance down one short side, the long side, and halfway down the other short side.
  • Turn right side out through the opening.
  • Turn the raw edges toward each other and top stitch over the opening, closing up the unfinished edge.  Press with an iron so it lays nice and flat.
  • To make the dowel casings, fold over two inches on each long side, pin, and then stitch all the way down each side.
Here's is the original link:http://somewhere-in-the-middle.com/diy-book-sling-tutorial/